
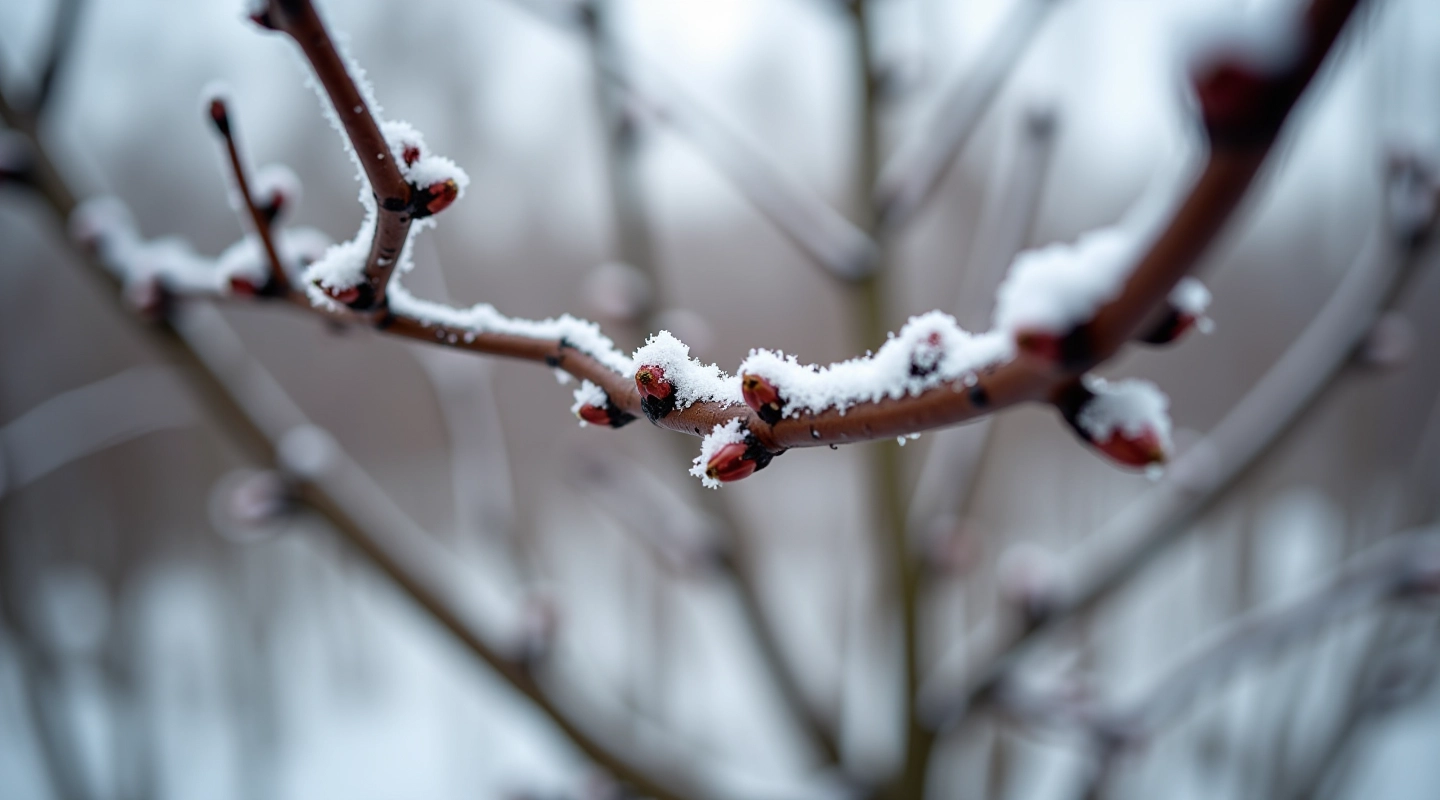
Winter Dormancy and Branch Structure
Understanding how to identify main branches and lateral growth before spring pru...
Read GuideThe difference between a good cut and a bad one comes down to angle and tools. We'll show you exactly what to use and how.

Author
Editorial Team
Written by the primaxcrest editorial team, focused on clear, practical guidance for fruit tree care.
You can't just grab any tool and start cutting branches. A poor cut leaves your tree vulnerable to disease, takes longer to heal, and can stunt growth for an entire season. The right angle combined with sharp, appropriate tools makes all the difference.
We're going to walk through the exact techniques that experienced pruners use — the angles, the tools, and when to use each one. It's not complicated once you understand the why behind it.
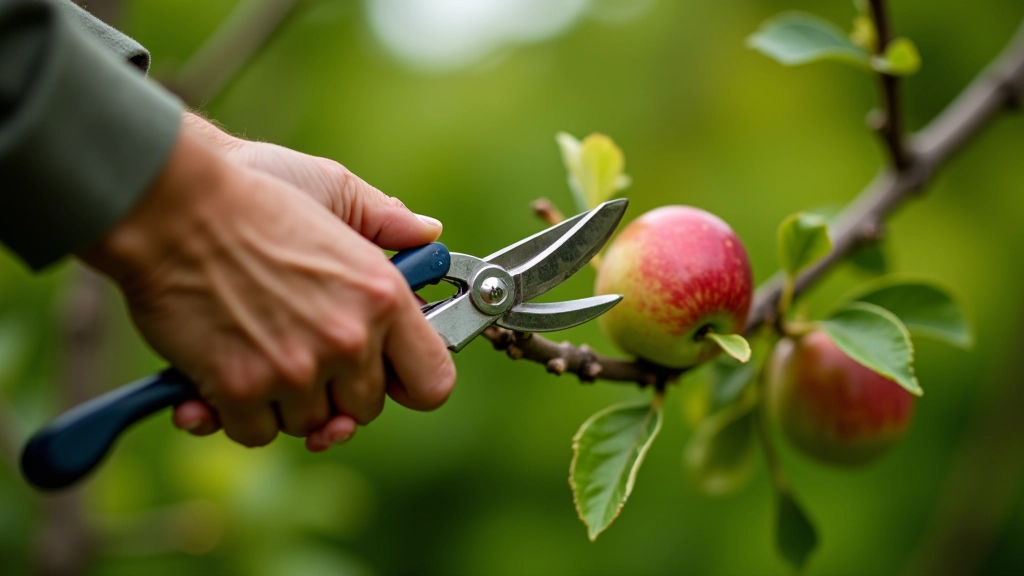
The golden rule: cut at a 45-degree angle, sloping away from the branch collar. This isn't arbitrary. The angle allows water to run off rather than pool on the cut surface, and it creates the largest healing surface while still being manageable.
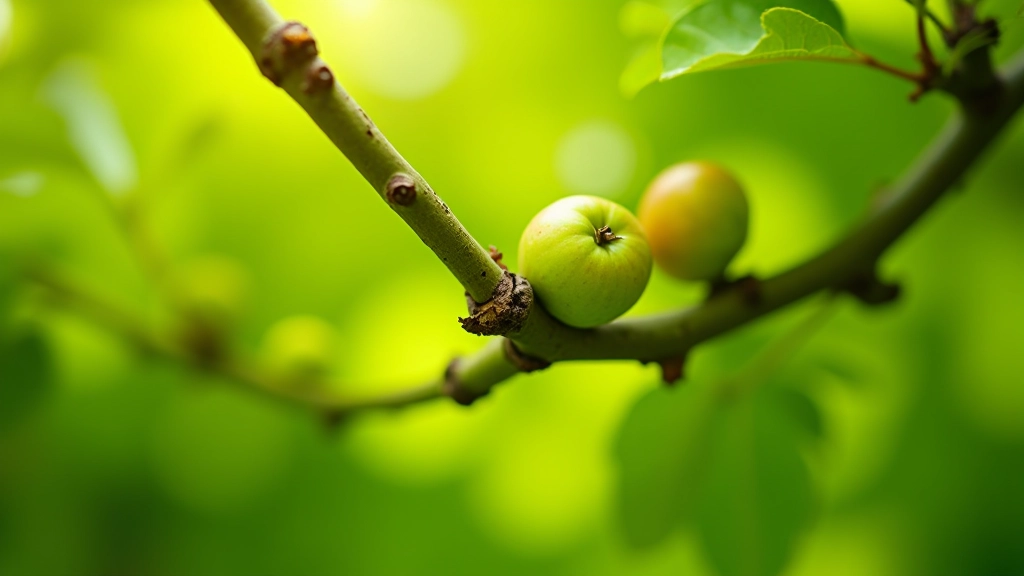
Position your pruning shears so the blade cuts upward at that angle. Your cut should be just above a dormant bud or lateral branch — about a quarter-inch is the sweet spot. Too close and you damage the bud. Too far and you're leaving a stub that won't heal properly.
Stubs longer than half an inch don't callus over well. They become entry points for fungal infections and can girdle the branch as they slowly die back. Keep cuts flush or just slightly proud of the collar.
Apples and plums respond best to this technique. You'll notice faster healing and cleaner regrowth. Most experienced orchardists can make this cut consistently once they've done it fifty or so times. The muscle memory develops quickly.
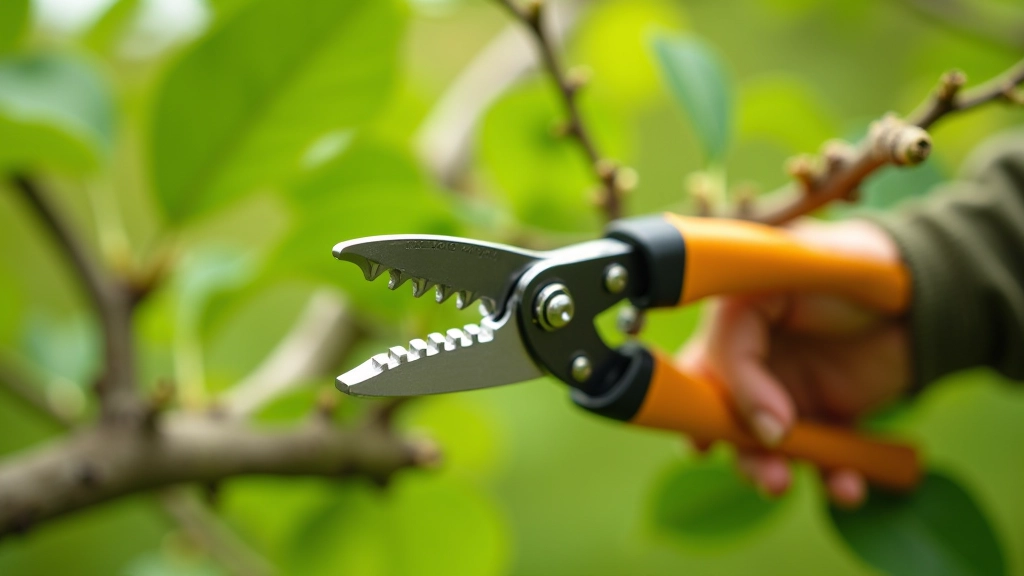
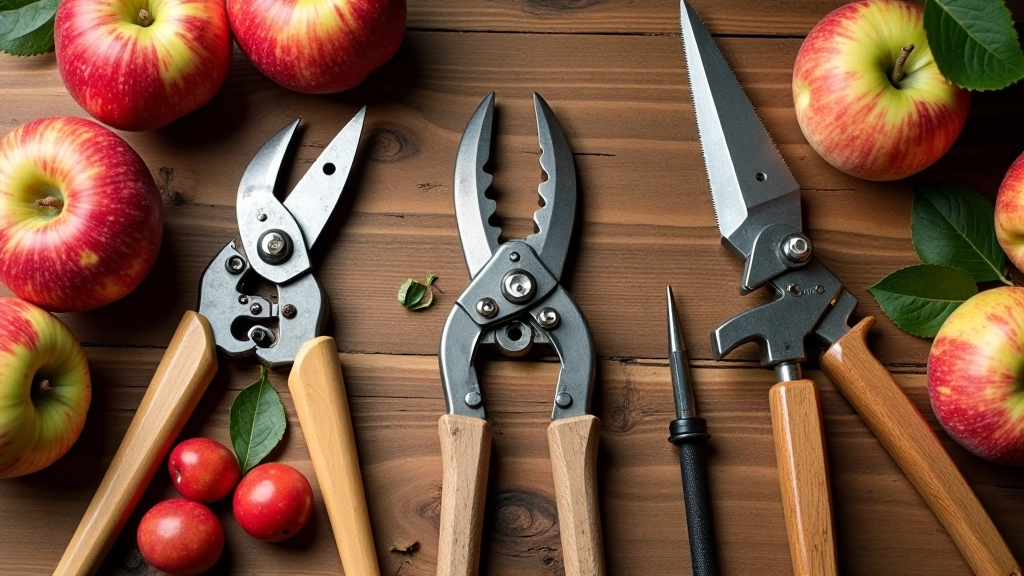
Not all pruning tools are created equal. Using the wrong tool for the branch size wastes energy, creates ragged cuts, and frustrates you in the process.
These are your workhorse. They work like scissors — one curved blade slides past a flat blade. Use them for branches up to about three-quarters of an inch. They're clean, precise, and won't crush tender shoots. Quality matters here. Cheap bypass pruners don't stay sharp and actually tear wood rather than cutting it.
Longer handles give you leverage for thicker branches — usually one to two inches. The increased mechanical advantage means you don't need to strain. Don't try to force them on branches beyond their capacity. You'll damage the tool and make a messy cut.
Anything over two inches needs a saw. Use a smooth, gentle sawing motion. Forcing the saw creates splintering and damages the bark collar. Good saws have curved blades that cut on the pull stroke, which gives you better control.
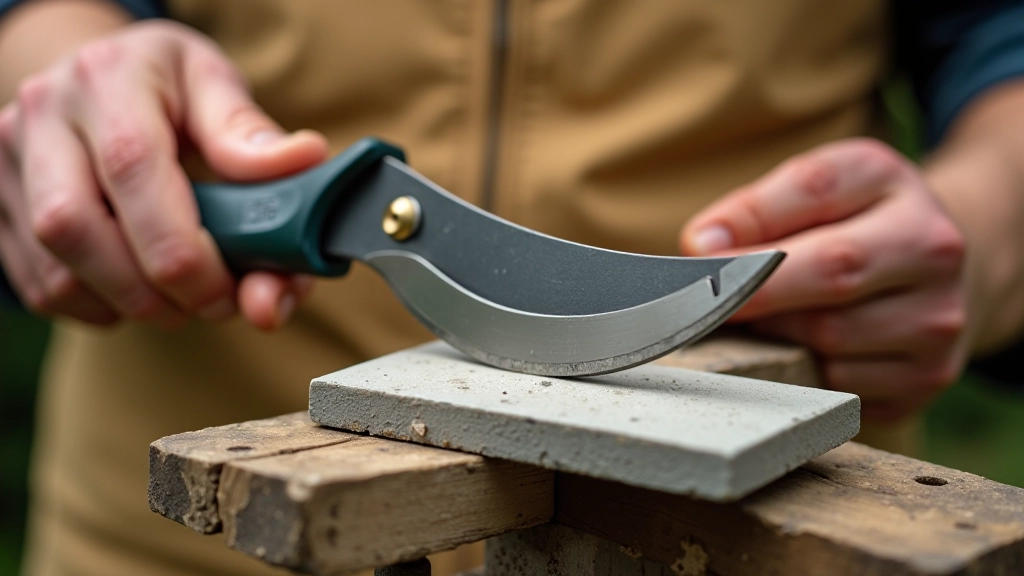
Dull tools are your enemy. A sharp blade cuts cleanly. A dull blade crushes tissue, tears bark, and requires you to apply pressure that's exhausting and dangerous. Sharpen your tools at the start of pruning season and touch them up every few hours of active cutting.
If your pruner can't cleanly slice through paper, it's time to sharpen. Don't wait until cutting feels like a struggle — by then you've probably already made poor cuts on several branches.
Clean your blades after each use. Sap builds up and affects performance. Wipe them with a cloth and a bit of mineral oil. This also prevents rust, which is especially important if you live in a humid climate.
Every few seasons, replace worn handles and check the springs and bolts. A tool that fits your hand comfortably reduces fatigue and improves accuracy. You'll notice the difference immediately when you pick up a well-maintained pruner versus one that's been neglected.
Even with the right tools and knowledge, it's easy to slip into bad habits. We see these mistakes repeatedly in orchards across the region.
Cutting parallel to the branch collar: This creates a flat surface that sheds water poorly and takes forever to heal. Always angle away.
Leaving stubs: "I'll cut it again next year" doesn't work. Cut decisively the first time. Stubs look bad and invite disease.
Using dull tools on thick branches: This is when people reach for anvil pruners instead of a saw. Anvil pruners crush rather than cut. Save them for dead wood only.
Painting cuts: Modern research shows tree wound dressing doesn't help healing and can trap moisture. Let the tree compartmentalize naturally. It's more effective than any product.
You don't need to be perfect immediately. Pay attention to how your trees respond. If you see slow healing or die-back, adjust your technique. Trees are forgiving — you'll have multiple opportunities to improve your cuts as the season progresses.
This article provides general guidance on pruning techniques. Tree care can vary significantly based on your specific climate, tree variety, age, and health. For trees with disease concerns, structural problems, or unusual growth patterns, consult with a local arborist or agricultural extension office who can assess your situation directly. Always prioritize safety when using sharp tools and working at height.
Proper cutting angles and tool selection aren't advanced skills — they're just habits. Once you understand the logic, they become automatic. Your trees will reward you with faster healing, better structure, and healthier growth.
Start with one tree. Practice your 45-degree cuts. Feel how the right tool makes the work easier. After a season or two, you'll have developed the instincts that separate careless pruning from skilled work. That's when you'll notice your trees respond with vigorous, well-shaped growth.
Continue your learning journey with these related guides
Understanding how to identify main branches and lateral growth before spring pru...
Read Guide
Once flowers appear, your approach changes. Learn when to prune and what to leav...
Read Guide
Grafting isn't as complicated as it sounds. We cover rootstock types, timing, an...
Read Guide